
Tuna Pasta Salad – Fit Foodie Finds

[ad_1]
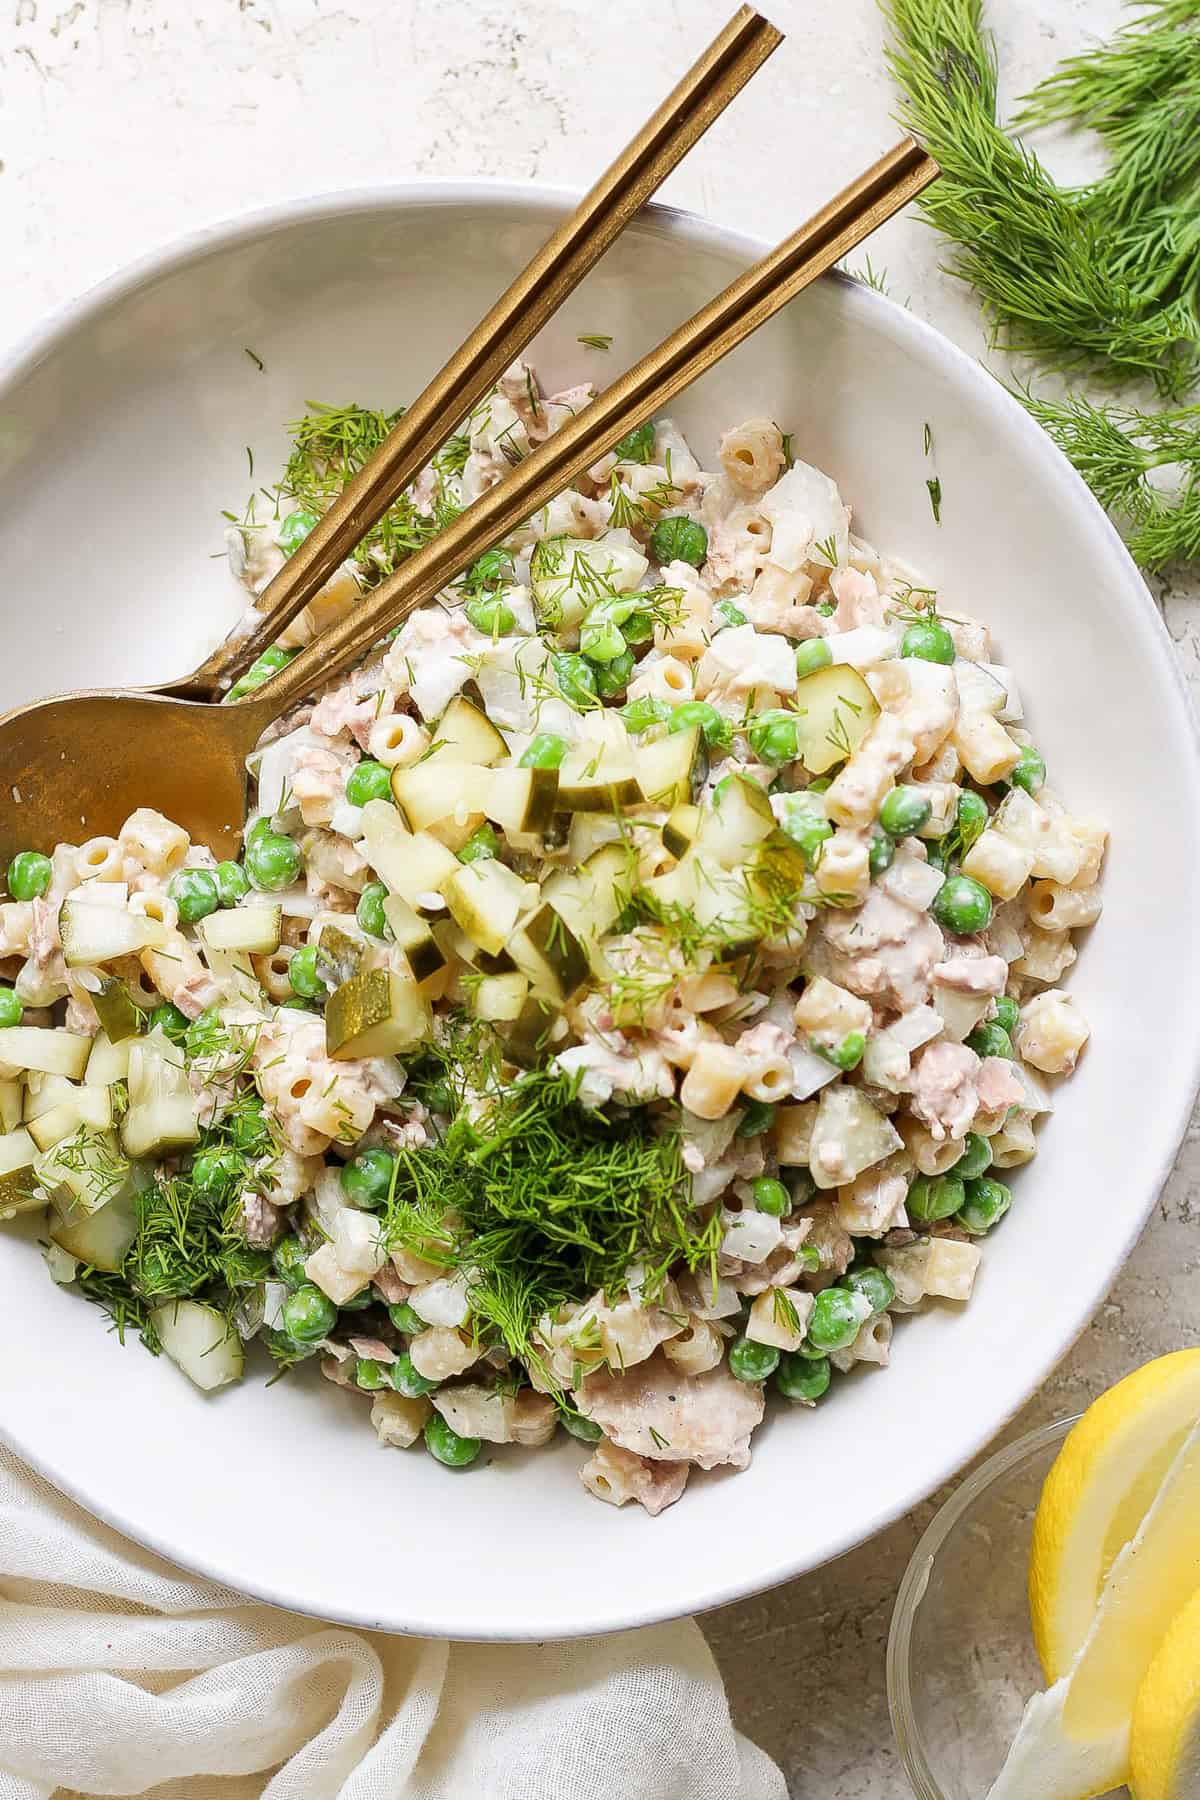
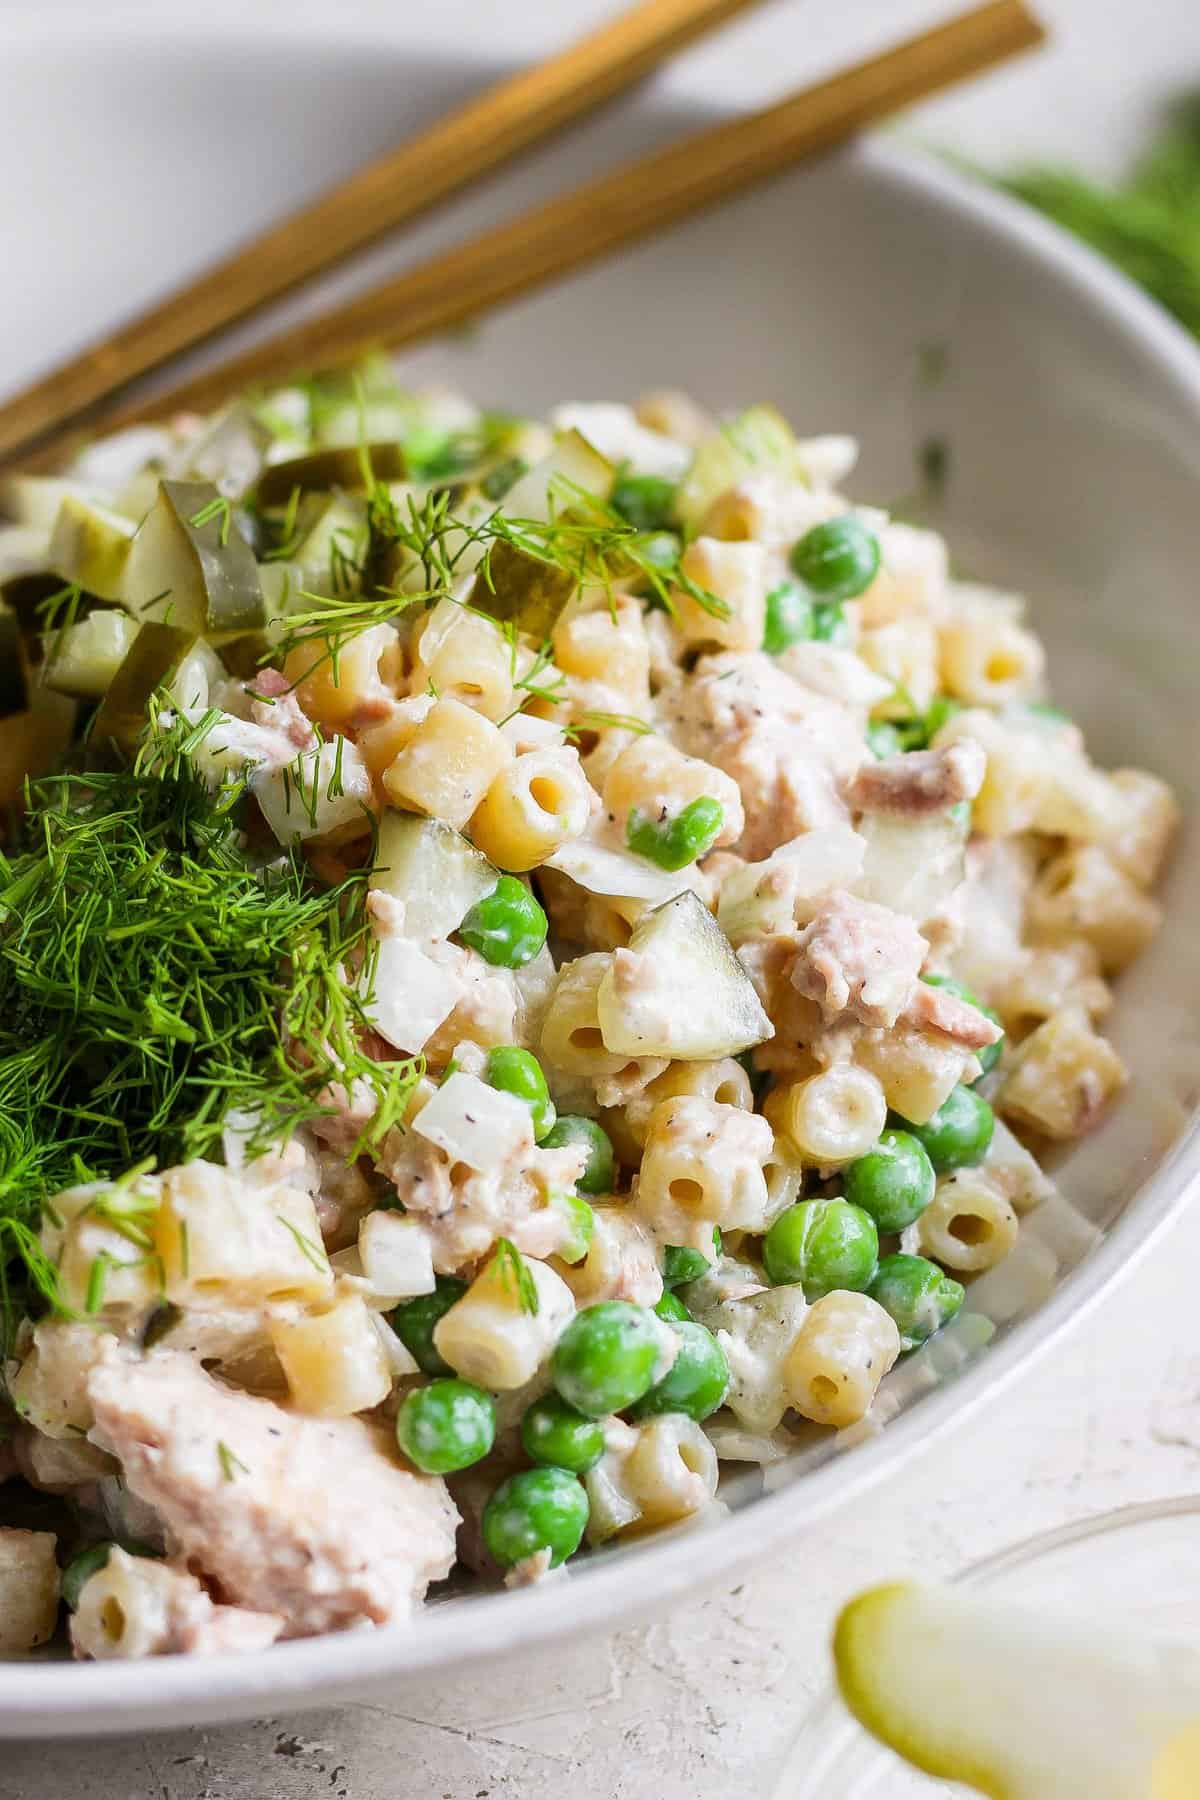
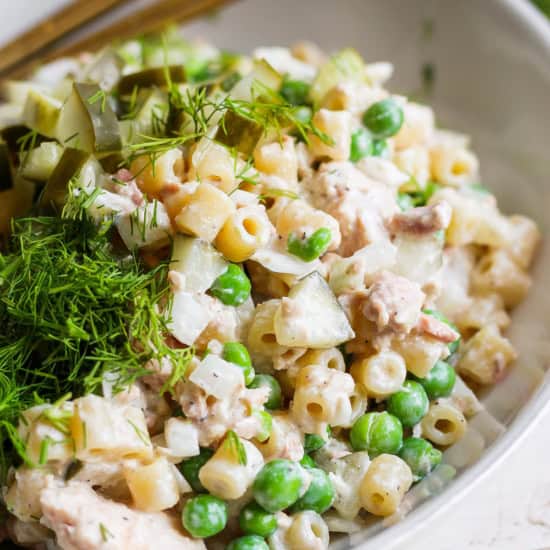
This Tuna Pasta Salad is creamy, crunchy, and flavorful in all the best ways. Ditali pasta, sweet peas, dill pickles, and savory tuna are tossed together in a tangy dressing for the perfect summer side dish.
Ready in under 30 minutes, this is the best tuna pasta salad recipe for picnics, potlucks, or when you need a quick and easy backyard BBQ side.
If you loved a good tuna noodle salad growing up, you’ll be head over heels for this canned tuna pasta salad! Since the weather has warmed up, I’ve been throwing this together a lot for lunch or an easy side dish. Try it alongside potato chips (we even love it with our Garlic Roasted Kale Chips) … it’s seriously so good!
Boil your pasta, make your sauce, assemble your salad, and you’re ready to serve! It’s SO easy and an absolute party for the tastebuds.
Main Ingredients for Tuna Pasta Salad
- Ditali or ditalini pasta: This is such a fun pasta shape for this tuna & pasta salad! It holds the dressing nicely and adds a little bit of texture without getting mushy and falling apart.
- Frozen sweet peas: You can cook and cool fresh peas if you’d like, but frozen peas are more convenient for this dish.
- Canned tuna: Use your favorite brand of canned tuna. The higher the quality, the better the tast IMO!
- Dill pickles: Dill pickles and tuna could not be a more perfect match! They add a nice tangy crunch to the salad.
- 2% Greek yogurt: The base of our dressing, Greek yogurt adds a delicious creamy tang with the added bonus of being healthier than mayo.
- Mayonnaise: We still like to add a liiiiiittle bit of mayo to this pasta salad for extra creaminess and rich flavor.
- Pickle juice: Put that pickle juice to good use and mix it into the dressing for even more zing!
- Dijon mustard: There’s something about Dijon that just elevates recipes to the next level.
Need to Swap Ingredients? Try These Options!
Pasta: If you’d rather use pasta you already have on hand, opt for small pasta shapes such as macaroni, shells, or farfalle.
Tuna: Not a fan of tuna? Don’t make this recipe 😋 Try our Dill Pickle Chicken Salad for a delicious chicken version!
Greek yogurt & mayo: You’re welcome to use one or the other on its own, but we find that the combination of both yields a perfectly creamy and tangy dressing.
Dijon: Don’t have Dijon? Spicy brown mustard or regular yellow mustard can be used as a substitute.
What other yummy things can I add to this tuna pasta salad recipe?
There are so many ways to level up the salad even more. We like to chop up some pepperoncini and celery to add some extra crunch and heat.
You could also add cooked bacon or diced avocado if you have it on hand! Bacon goes with everything 😋
here’s a tip!
To speed up the cooling process of the pasta, transfer the strained pasta to a large bowl and cover it with cold water. Add a few ice cubes and let the pasta sit. Strain and remove ice cubes from the pasta before mixing the salad.
Storage Directions
This pasta salad will keep in the fridge for 3-4 days. After that, the pasta will start to soak up the dressing and become a little mushy.
Can I make this pasta salad ahead of time?
Absolutely! In fact, we recommend making it at least an hour before serving so the flavors have time to meld together. Just keep it in the fridge until you’re ready to enjoy!
What to Serve with this Easy Tuna Pasta Salad
As we said, this recipe is DELICIOUS served with potato chips. The salty crunchiness of the chips is a perfect contrast to the creamy pasta salad. But there are plenty more options if chips aren’t your thing.
Here are some other ideas
Grilled or roasted vegetables like our Oven Roasted Asparagus or Roasted Fingerling Potatoes.
A fruit salad for something sweet and refreshing. We love it with this Arugula Salad!
A sandwich or wrap for a heartier meal. Try it with our Easy Turkey Roll Ups or Turkey Pesto Sandwiches
Grilled meat mains like our Grilled Chicken Legs or Dry Rubbed Ribs.
Email Me this Recipe
Share your email, and we’ll send it straight to your inbox. Plus, enjoy weekly doses of recipe inspiration as a bonus!
“*” indicates required fields
Tuna Pasta Salad Recipe
Packed with texture and flavor, this tuna pasta salad has got it all: fun pasta, crunchy veggies, and a creamy dressing that ties it all together. It’s a quick, easy, and delicious dish that’s perfect for a quick lunch or as a side at your next BBQ.
Prep:15 minutes
Cook:7 minutes
Total:22 minutes
Ingredients
- 8 oz. ditali or ditalini pasta
- 12 oz. frozen sweet peas thawed
- 10 oz. canned tuna drained
- ½ medium white onion diced
- 1 cup chopped dill pickles
- 1 tablespoons fresh chopped dill
Sauce
- ⅔ cup 2% Greek yogurt
- ¼ cup mayonnaise
- 1 tablespoon pickle juice
- 2 tablespoons fresh lemon juice
- 2 teaspoons lemon zest
- 2 teaspoons Dijon mustard
- 1 teaspoon salt
- ½ teaspoon black pepper
Instructions
-
Bring a large pot of salted water to a boil. Add the pasta to the water and cook until al dente, about 5-7 minutes. Strain and let the pasta cool.
-
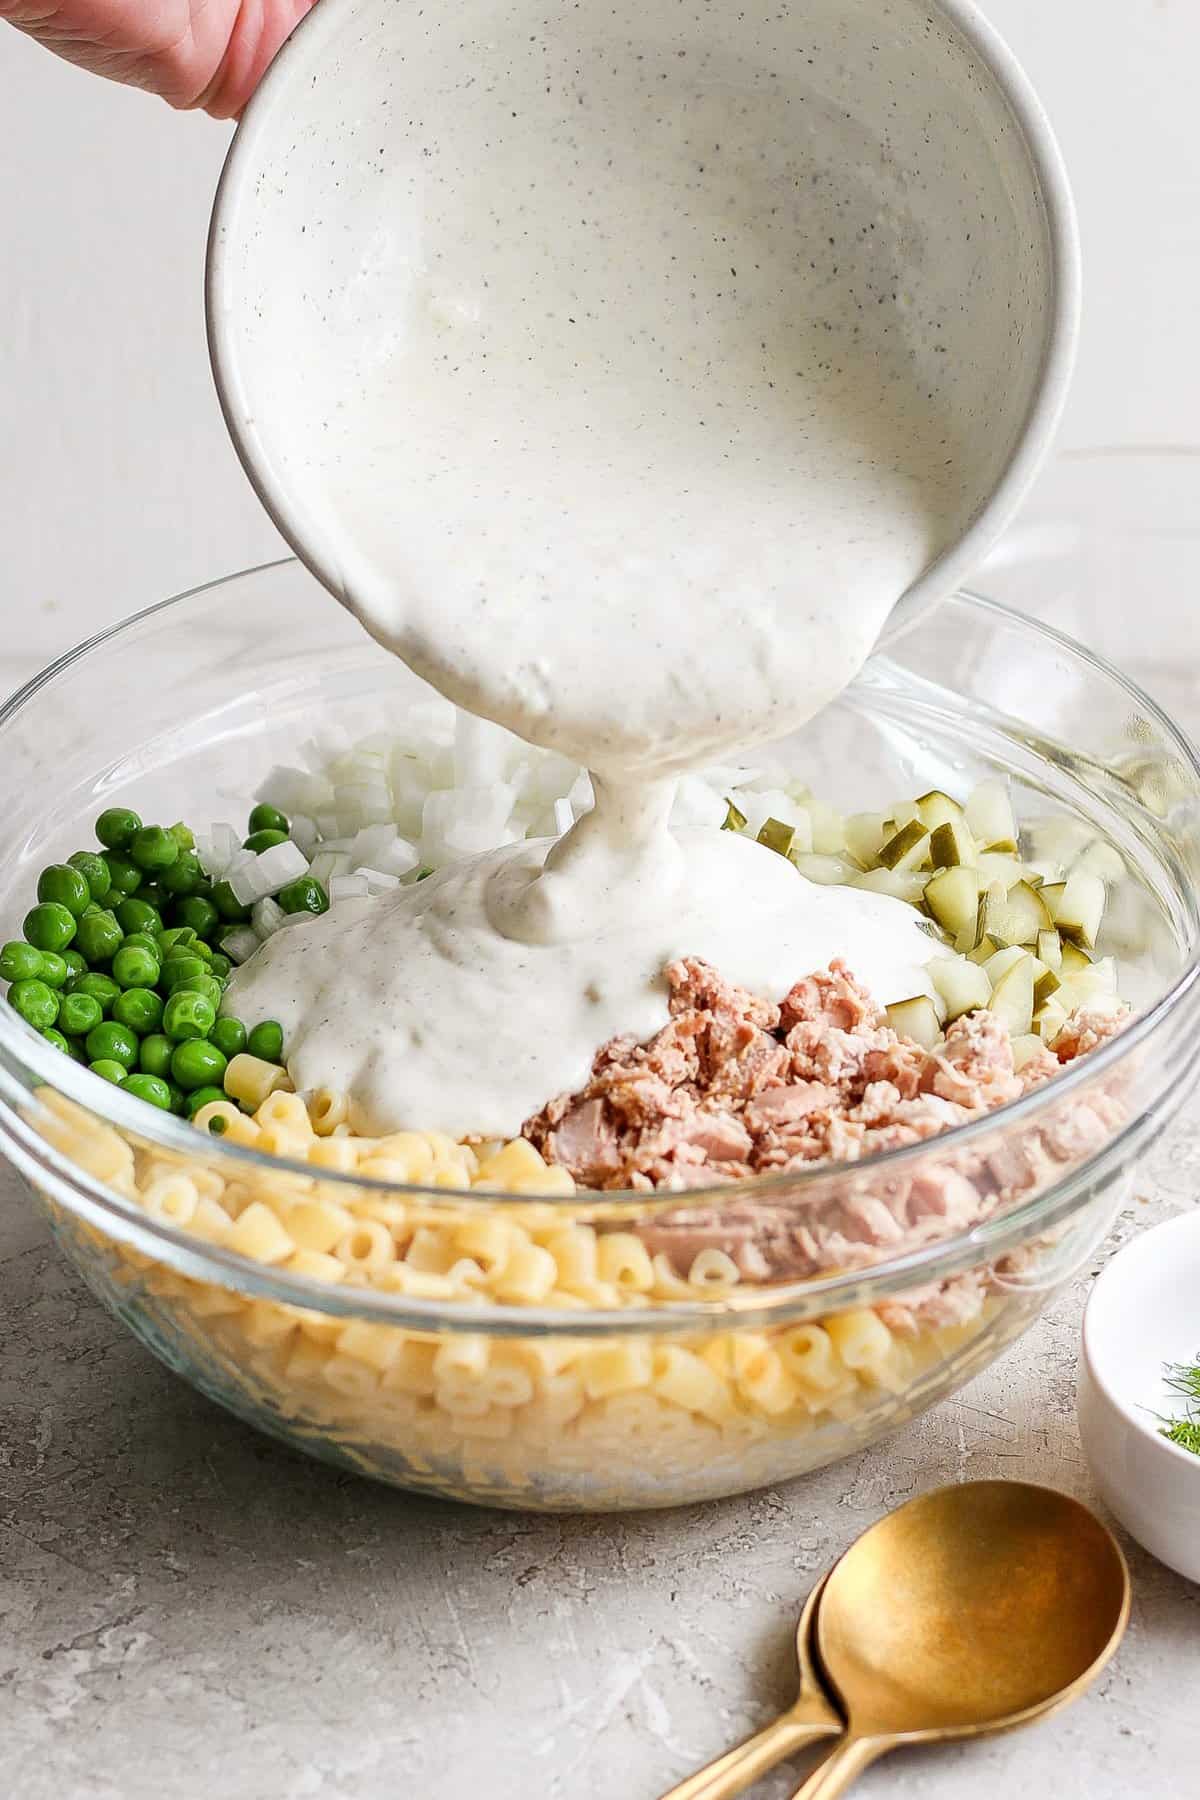
Prepare the sauce. Add the Greek yogurt, mayonnaise, pickle juice, lemon juice, lemon zest, mustard, salt, and pepper to a bowl and stir to combine. Set aside.
-
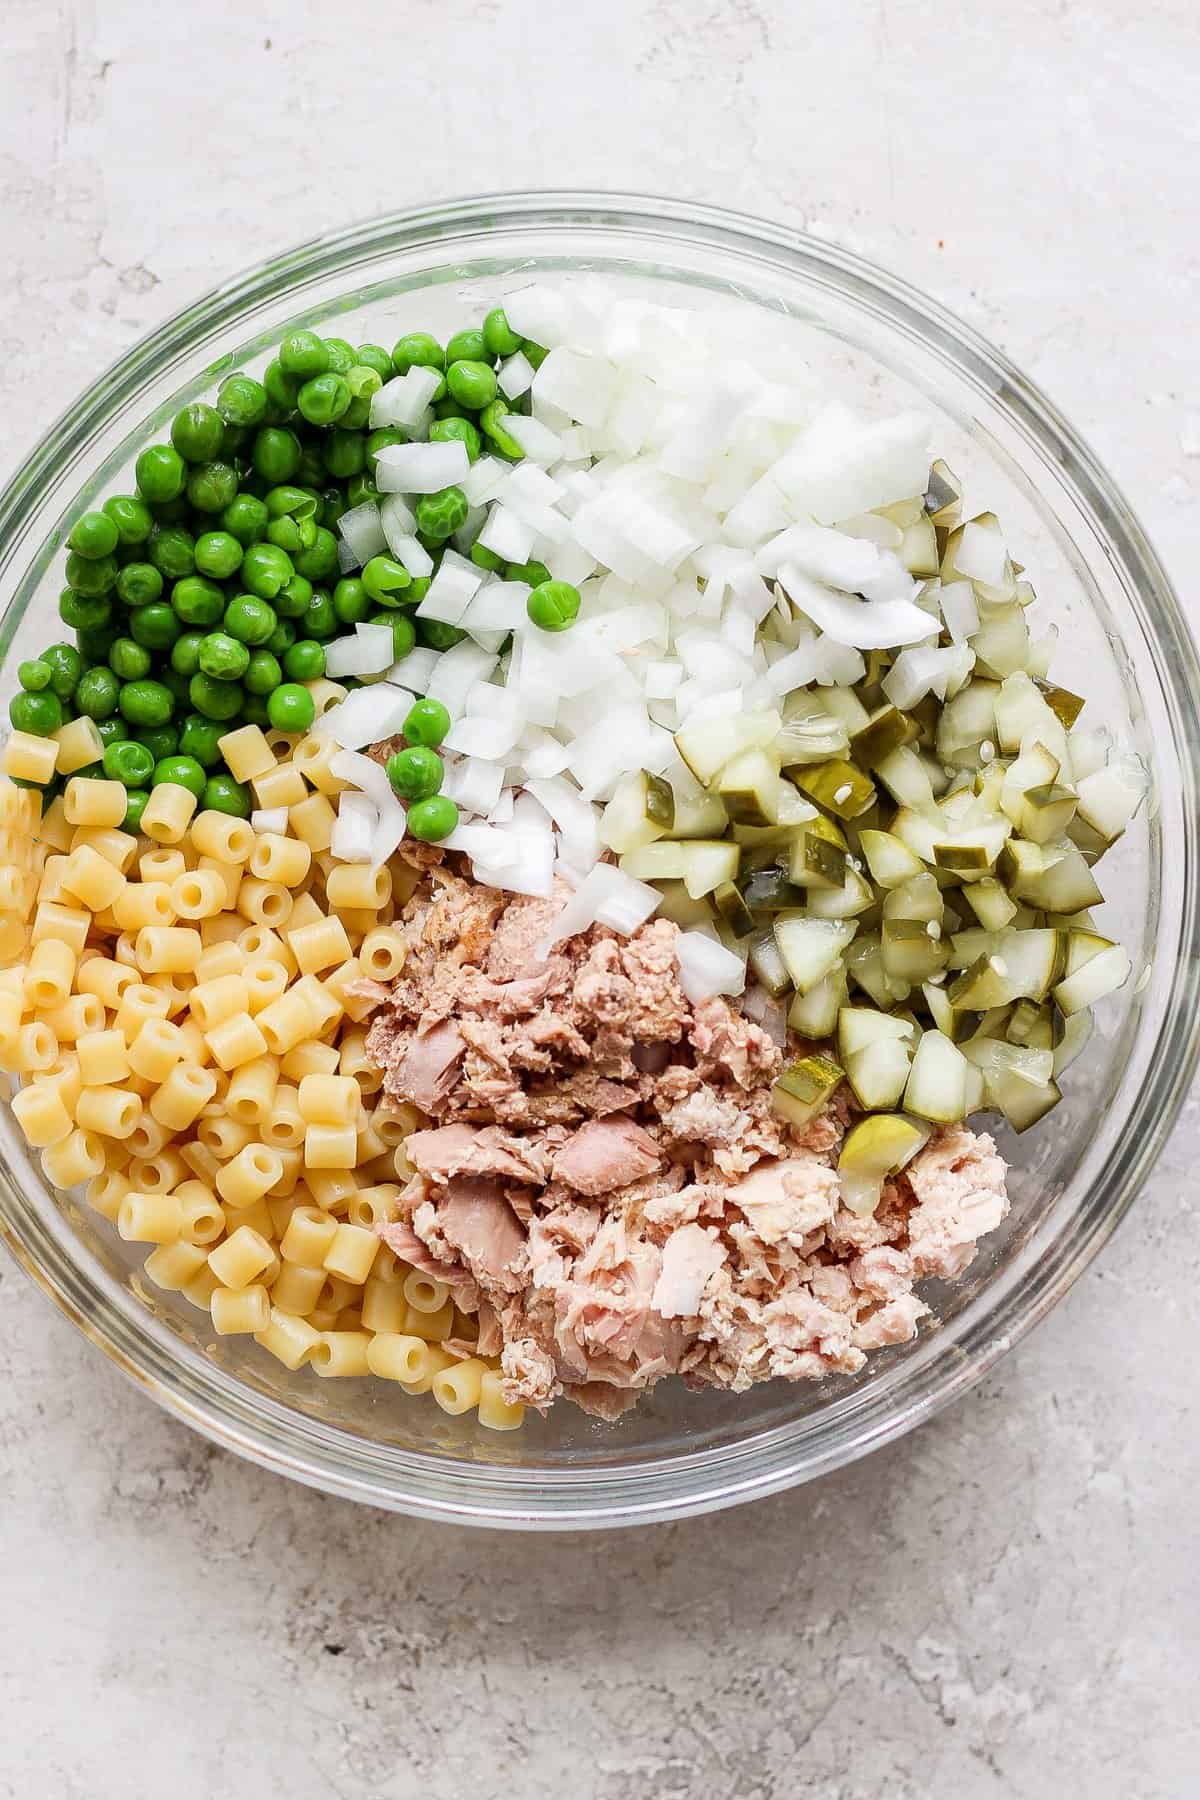
Add the pasta, peas, tuna, white onion, and dill pickles to a large bowl and toss to combine.
-
Pour the sauce over all of the ingredients and mix to combine. Be sure to break the tuna up into small pieces.
-
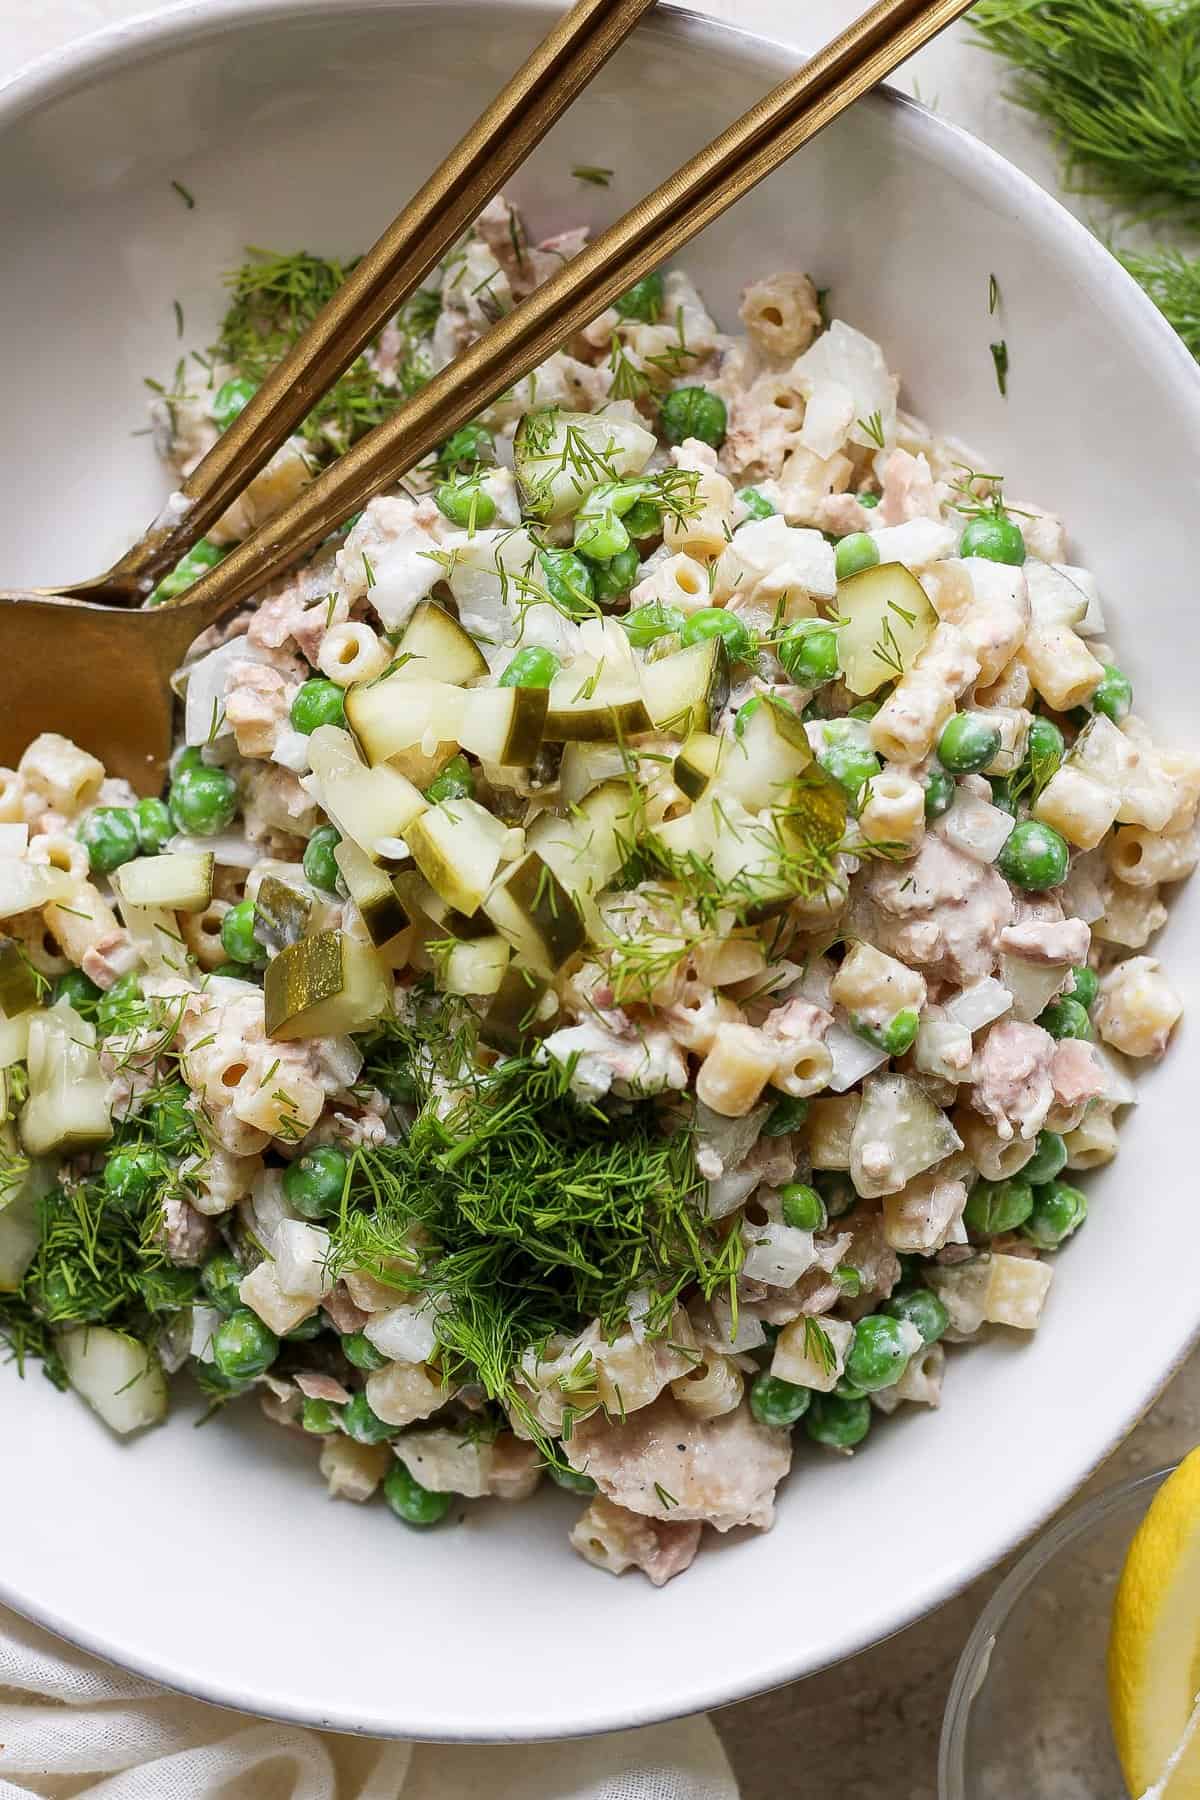
Top with fresh dill and serve immediately or place in the refrigerator to cool.
Tips & Notes
- To speed up the cooling process of the pasta, transfer the strained pasta to a large bowl and cover it with cold water. Add a few ice cubes and let the pasta sit. Strain and remove ice cubes from the pasta before mixing the salad.
- This recipe is delicious and served with potato chips.
Nutrition facts
Calories: 316kcal Carbohydrates: 39g Protein: 20g Fat: 8g Fiber: 5g Sugar: 6g
Photography: photos taken in this post are by Erin from The Wooden Skillet.
[ad_2]